The topic of My entire homelab runs on an 8-year-old laptop most people would throw away is currently the subject of lively debate — readers and analysts are keeping a close eye on developments.
This is taking place in a dynamic environment: companies’ decisions and competitors’ reactions can quickly change the picture.
Most people assume that a homelab server requires high-end or enterprise hardware. I had the same assumption and was planning to use used enterprise-grade hardware for my setup. Then I thought of giving my 8-year-old Dell laptop, which was lying around, a try before spending on new hardware.
Turns out the hardware depends entirely on the use case. It isn’t about the specs; it’s about fit. Today, that old laptop runs everything from my personal cloud and photo backups to media streaming and local DNS. The laptop as a server has replaced most of my paid subscriptions, which I used regularly.
No subscriptions, no enterprise-grade hardware, just a repurposed laptop doing real work.
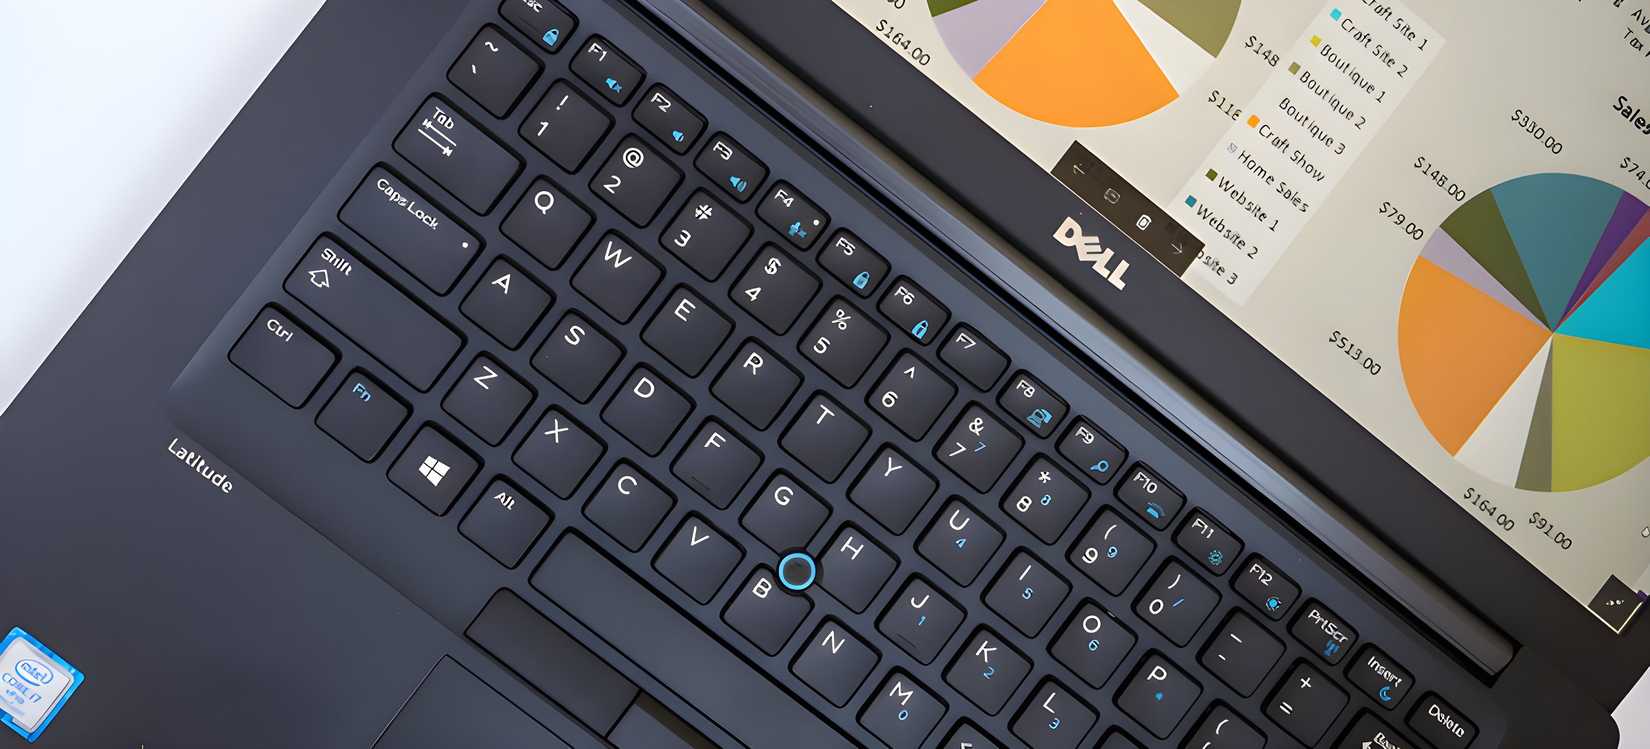
I was already using an old 2-bay Synology NAS (2 cores) to run services like Plex and Synology Drive. My old Dell Latitude 7480 (Core i5-6300U CPU and 8GB RAM + 4GB more) was an intentional choice rather than a reuse. It was already more capable than my NAS, so before spending anything on new hardware, I decided to give my 8-year-old laptop a try.
It offered a few advantages over traditional server setups. First, it had a built-in UPS, the battery. Power cuts don’t pair well with a server that’s meant to run 24 hours a day. I reside in the countryside, where power outages are frequent. The laptop battery gave me a failover during outages. Unlike a traditional server, I didn’t need an external UPS and still had time for graceful shutdowns whenever needed.
In terms of power, a laptop with its lid closed and screen off is far more efficient than a typical server. In my case, it ran at 5–6 watts when idle. Even under peak load, like transcoding video in Jellyfin and photo processing in Immich simultaneously, it only reached 16–20 watts. Whereas for the same task, an enterprise server would be drawing typically around 150–200 watts.
Since the Dell Latitude was a business-grade laptop, system noise levels were well controlled. This mattered more in my case since I planned to keep the server in our guest room, a shared space where noise would be noticeable.
But hardware alone can’t achieve the efficiency of the services I planned to run on this server. That’s where the OS and containerization strategy came into play.
Hardware alone wasn’t enough to handle all the services I had planned to run. Software choice mattered more in my case, as it tied the OS and container strategy together. It would also determine how it could actually run on limited resources.
I chose bare-metal Linux (Debian) over a virtual environment like Proxmox for a few reasons. Debian is stable, lightweight, and predictable, with no unnecessary background processes. I installed it with the XFCE environment, which has low overhead and is useful for basic tasks like power and display management.
Instead of installing everything directly, I decided to use Docker. It gave me a clean separation of services and was easy to manage, update, and remove. Since Docker containers share the host kernel instead of running full VMs that duplicate the OS, they are far more resource-efficient. For better workflow and day-to-day management, I chose Docker Compose and Portainer. Portainer made it easy to monitor, start, and stop containers with one click through a simple GUI.
With this foundation, I started replacing paid services that I used regularly with self-hosted alternatives.
Google Photos and Apple Photos were the first services that I wanted to replace. With the latest flagship smartphones, each photo size can be as high as 10MB. The storage on mobile devices fills up faster than expected. Google One and iCloud+’s cost-to-storage ratios aren't the best.
I chose Immich to replace both Google and Apple Photos at once. My family’s requirements were automatic backup from the phone, unlimited (logically) original photos and videos, and hosting in our local environment. Immich handled all these with additional ML capabilities like face recognition and smart search. There were a few more options available, like PhotoPrism and Nextcloud Photos. I chose Immich mainly for its mobile app experience and ML features.
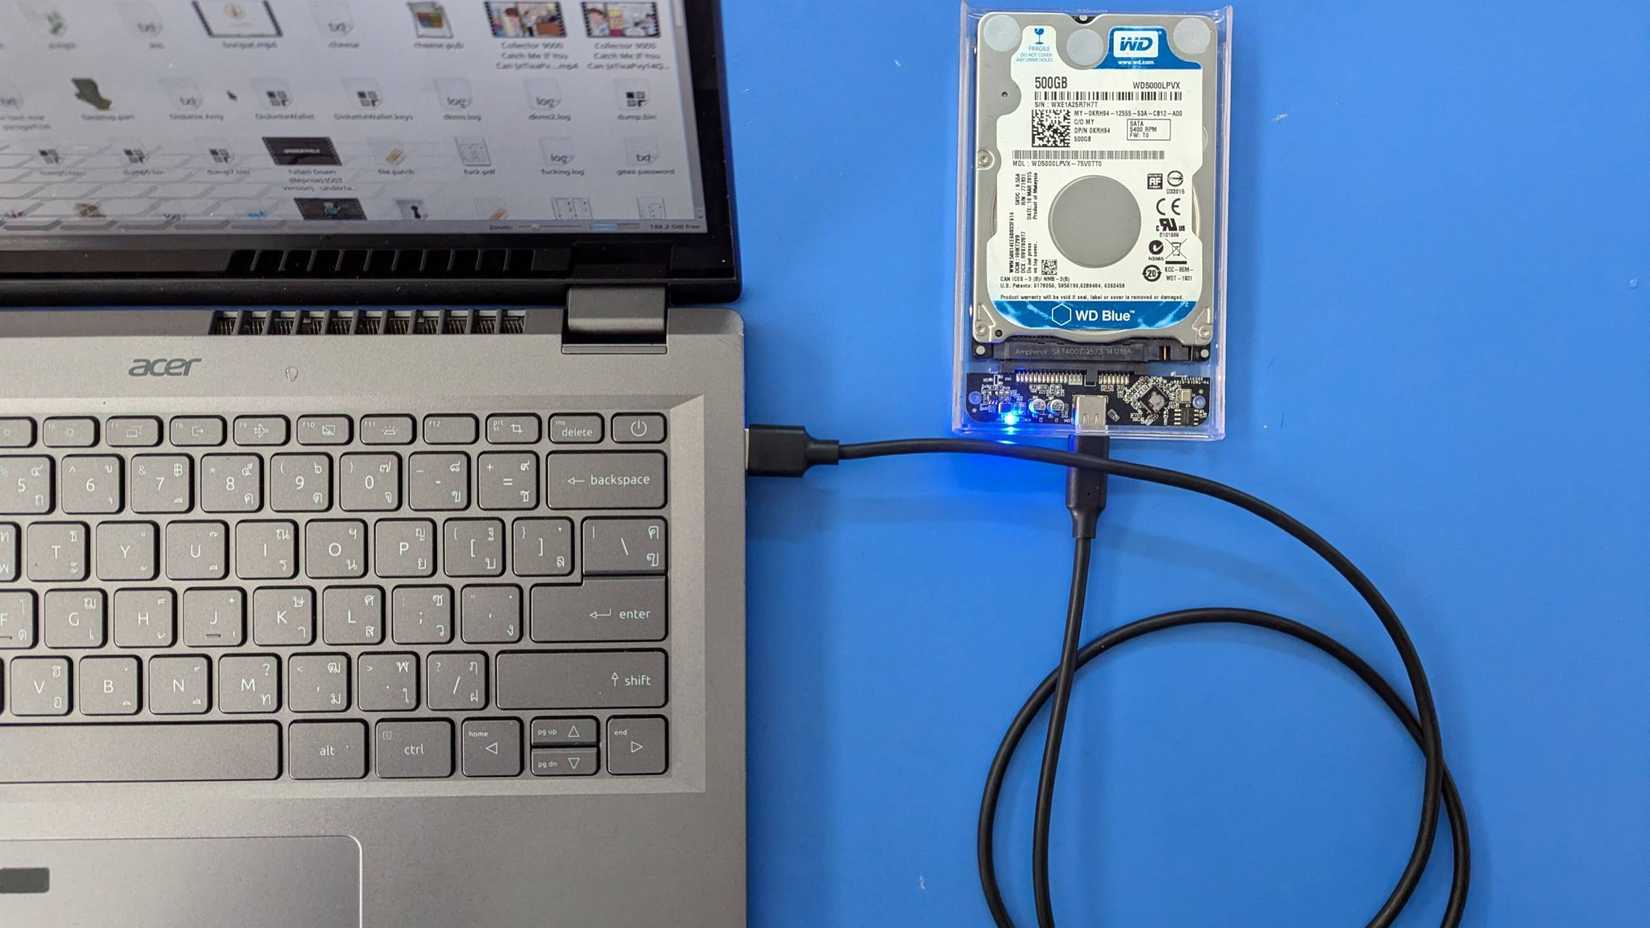
The setup was straightforward. For storage, I mounted a separate directory from my NAS onto the server. Then I used a Docker Compose stack via Portainer to deploy Immich alongside its dependencies like ML, Redis, and Postgres in one go.
On my setup, it worked reliably. The mobile app was my primary interface. Uploads over Wi-Fi were fast; surprisingly, browsing the library on the app felt smooth. I didn’t use the ML features regularly, but they were there whenever I needed them.
As already mentioned, Google Drive and Apple iCloud+ don’t offer the best value for storage. The same storage limit is shared across all Google and Apple services, which was a key deciding factor for me.
Even though I already had a NAS, my robust VLAN-based network setup made accessing files across multiple devices difficult. My NAS was connected to one VLAN, whereas my PC on LAN and MacBook on Wi-Fi were connected to separate ones. I didn’t want to set up cross-access, especially since my family also uses it.
These were the main reasons I chose Nextcloud as my file storage and transfer solution. The setup was similar to Immich. I deployed Nextcloud alongside its dependencies like DB and Redis via the Portainer stack with storage mounted from my NAS.
File uploads and transfers on the local network were almost instant. Other features like sharing links, collaborative tools, and the mobile/desktop app were added bonuses. I faced a couple of issues while setting it up, but they were one-time things. Since then, I haven't had to visit the admin panel once.
File uploads on the outside network were a little slow, but that was expected. It wasn’t as seamless as Google Drive and Apple iCloud, but it was reliable.
The goal was not to replace OTT streaming platforms like Netflix or Amazon Prime, but to build a personal library. This included home videos and family recordings, content from owned physical media, movies and TV shows from DRM-free platforms and public domain like Archive.org. I wanted a self-hosted media streaming service, where I have all the controls and the media isn’t stored on a cloud server.
Plex could have been the reliable solution for this, but the paywall limitation made me choose Jellyfin, and I didn’t regret my decision. It turned out to be better than Plex in a few cases. Due to its open-source nature, many indie devs have developed client applications such as Fladder, which offered a polished user experience.
Similar to Immich and Nextcloud, the setup was straightforward via Portainer with media stored on my NAS. The streaming was seamless when it was direct playing. But streaming at a different resolution or on devices with incompatible audio was a little difficult. Software encoding wasn’t enough; I had to use hardware acceleration (VAAPI). It transcoded and streamed simultaneously, and the CPU usage would peak at 90%+ for a 1080p video.
Accessing it remotely was another challenge for me, as my ISP uses CGNAT, so port forwarding wasn’t simple for me. I used Cloudflare Tunnel to access it. Cloudflare doesn't recommend tunnels for streaming services, but for a few users and occasional streams, it was alright.
Bitwarden was already a reliable solution for managing passwords. The only thing that pushed me towards Vaultwarden was my concern about storing my passwords and passkeys on cloud servers.
I generally avoid ad-blockers to support smaller publishers. But these days, early-stage publishers, especially on mobile apps, add an enormous number of ads that spoil the user experience. And most mobile ad blockers don’t work at the app level. Pi-hole solved this by implementing ad-blocking at the network level and giving me full control over my network’s traffic.
Setting these up was straightforward, similar to my other services. Since neither had any dependencies to work with, Docker Compose deployed them in a few seconds, and they were up and running immediately. I had to configure them as per my preferences, but that was one time.
Vaultwarden worked flawlessly out of the box with the Bitwarden app and browser extension. Pi-hole, by default, was fairly lenient; I had to add more comprehensive blocklists. After that, it performed as expected. I set Pi-hole as the DNS server on my dual-WAN gateway, so all devices connected to the network automatically use it; no manual setup was required.
Together, these two handled security and browsing experience without relying on external servers.
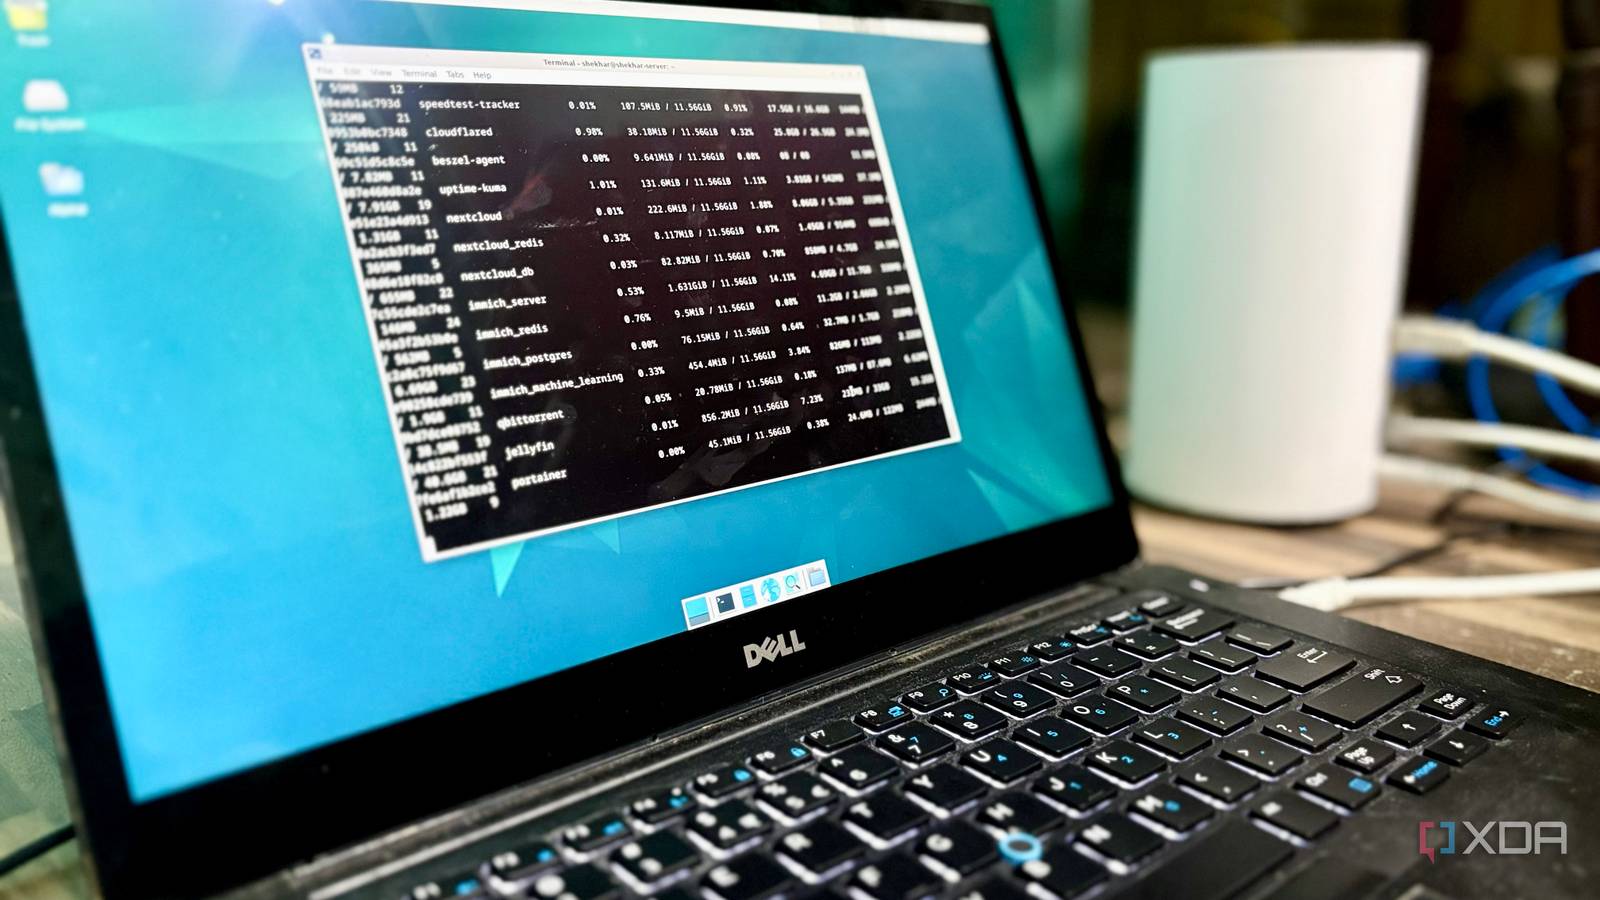
Self-hosting multiple services also means keeping track of uptime, response times, and availability. Since all the services were running locally, depending on a third-party provider for monitoring did not make sense. Uptime Kuma was the best alternative to UptimeRobot that I already use for my websites. It’s open-source, lightweight, and comes with a clean UI and multiple notification channels.
Speedtest Tracker was one of the required services for my home network. I have connections from two different ISPs, which are routed through a dual-WAN gateway. Speedtest Tracker helps me track ISP speed and network health over time with historical data.
These nice-to-have tools become an essential part that complements the self-hosted setup. The implementation is also straightforward. I deployed them on Docker Compose and accessed them via Cloudflare tunnels. Both services have negligible overhead on the server. Scheduled notifications are set for both the monitoring tools for any downtime via email, and are always visible on the dashboard.
A homelab server on an 8-year-old Dell Latitude 7480 with a Core i5-6300U CPU paired with 12GB RAM and a 256GB SSD works, but it has real limits too. Jellyfin streams are smooth on both LAN and WAN, but the old CPU bottlenecks when it starts transcoding. The same happens when multiple streams run simultaneously. Immich works flawlessly on mobile devices until I start backing up an album and indexing kicks in.
I can upgrade RAM and storage, but for a laptop this old, upgrading the processor isn’t a feasible option. The server stalls and becomes unresponsive when multiple CPU-heavy operations run at once. Jellyfin streams can buffer if transcoding can’t keep up. Similarly, the Nextcloud app can become unresponsive if a large file is syncing in the background.
But given the fact that I could host all these without spending a penny on additional hardware, makes the trade-offs acceptable. These issues are not frequent, so they are manageable for a small household of 3–4 members.
Many assume a homelab requires enterprise-grade hardware. I had the same assumption, but the experiment of running my whole homelab setup on an old laptop changed that perspective. Hardware is the foundation of the setup; the right OS and optimized services make the homelab viable. With a few trade-offs, I gained full control of my data, near-zero cost, and a learning experience for my future experiments. If you are willing to accept a few occasional slowdowns and value privacy and control over convenience, this can be a reliable solution for a small household. For me, this 8-year-old laptop proved that capable hardware doesn’t have to be new.
Why it matters
News like this often changes audience expectations and competitors’ plans.
When one player makes a move, others usually react — it is worth reading the event in context.
What to look out for next
The full picture will become clear in time, but the headline already shows the dynamics of the industry.
Further statements and user reactions will add to the story.