The topic of Stop blaming your 3D printer for slow prints, your slicer settings are sabotaging you is currently the subject of lively debate — readers and analysts are keeping a close eye on developments.
This is taking place in a dynamic environment: companies’ decisions and competitors’ reactions can quickly change the picture.
A lot of people blame their 3D printer when prints take forever. It’s an easy assumption to make, especially when the machine is right there moving back and forth like it’s stuck in molasses. But in plenty of cases, the hardware isn’t the real problem. The bigger issue is that the slicer is quietly telling the printer to work in the most time-wasting way possible.
That’s what makes this so frustrating. You can spend money on a faster printer, a better hotend, or a bigger bed, and still end up with prints that crawl along for hours longer than they should. Meanwhile, the machine may be perfectly capable of better results with only a few smarter choices in your slicing profile. A lot of “slow printers” are really just victims of cautious defaults, bloated walls, and settings that were never adjusted after the first test cube.
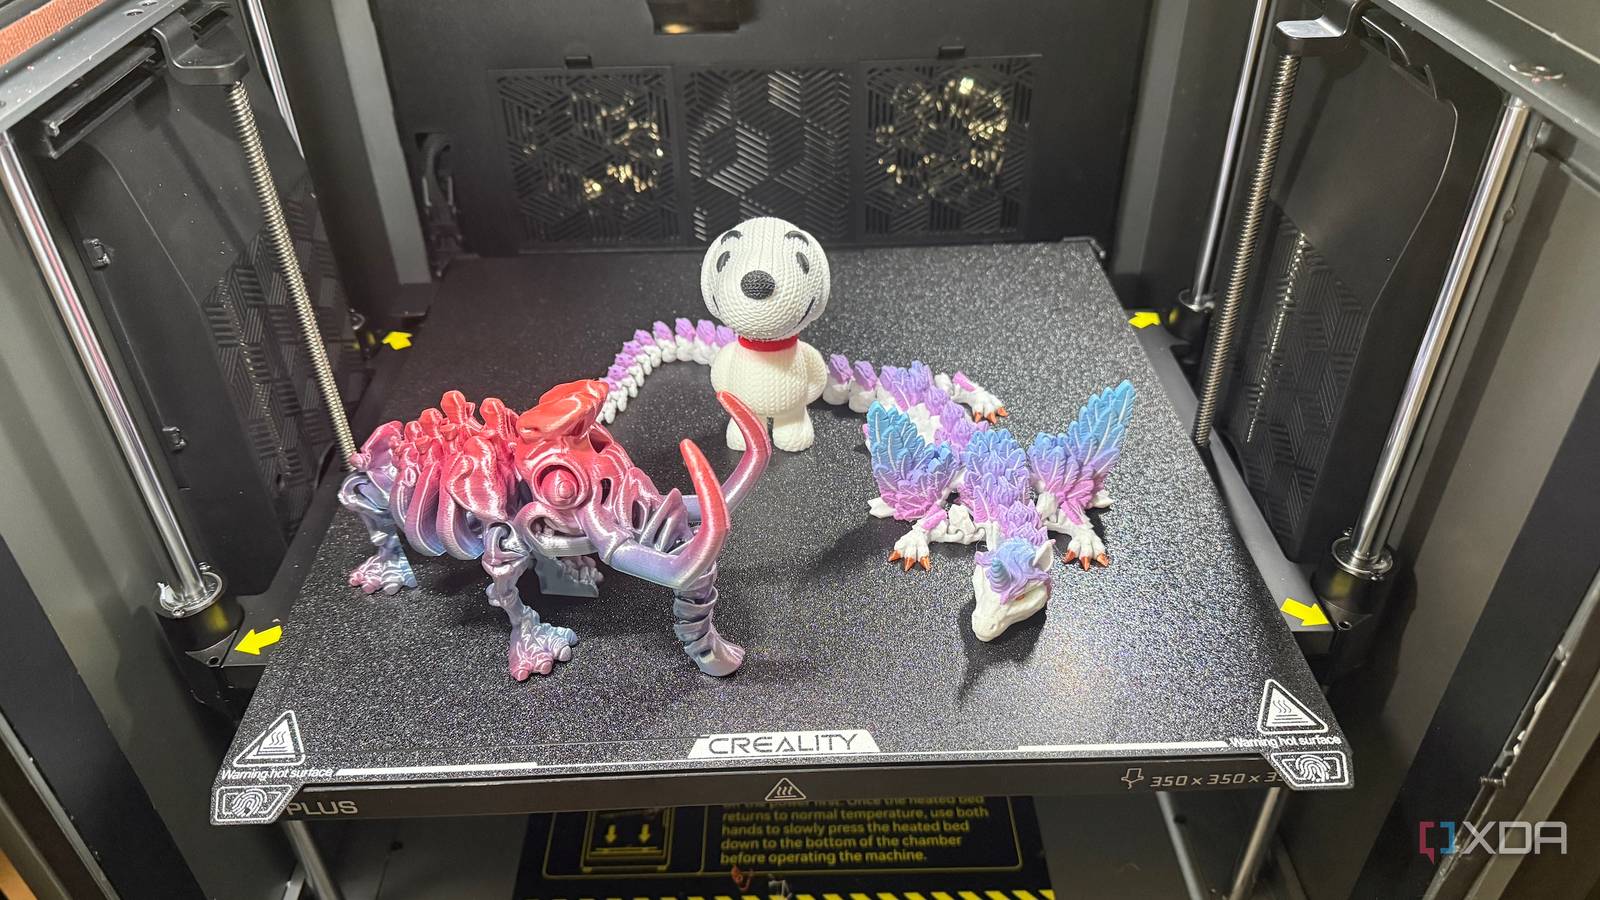
There’s no question that 3D printing can be a slow process, but there are ways to speed it up without affecting print quality
The most common reason prints drag on is that people slice every model like it needs to survive a car crash. They crank wall count higher than necessary, use thick top and bottom layers, and stuff the interior with more infill than the part will ever need. All of that adds time, material, and extra motion that the printer has no choice but to follow. If the slicer says to lay down all that plastic, the printer obeys.
This gets worse because many slicers make conservative choices to feel safe. A profile that starts with four walls, dense infill, and slow outer surfaces looks responsible on paper. It gives the impression that more plastic equals better printing, full stop. In reality, that often means a simple bracket, organizer, or decorative part is treated as a load-bearing machine component when it really doesn’t need that kind of structural support.
Once you start trimming those excesses, the time savings can be dramatic. Dropping infill from 25% to 10%, cutting an unnecessary wall, or reducing top layers on non-functional prints can shave off a shocking amount of print time. In many cases, the finished part still feels just as solid in everyday use. That’s the part people usually don’t realize until they finally compare two versions side by side.

Before you decide your printer is just slow, look at the slicer profile you’re feeding it. A few settings can quietly add hours to a print without giving you much in return. If the part doesn’t need showroom detail or extreme strength, these are the first places worth checking:
Another place people sabotage speed is by chasing fine detail they don’t actually need. A very small layer height can make sense for miniatures, curved display pieces, or parts where surface finish really matters. But plenty of everyday models don’t benefit enough to justify the extra passes. If you print a storage bin, cable guide, or wall hook at a layer height meant for showcase pieces, you’re just volunteering for a longer wait.
The same goes for line width and nozzle assumptions. Some users stick to very narrow extrusion paths or default settings that prioritize caution over efficiency, even when their printer could handle more aggressive choices without breaking a sweat. A wider line can cover more ground in less time, and a sane layer height can move a print along without turning the surface into a mess. You do not need to run every job like it’s entering a beauty contest.
This is where slicer habits become more important than printer specs. A modest machine with a well-tuned profile can outperform a supposedly faster printer that’s still being fed timid settings. That doesn’t mean hardware never matters, because it absolutely does. It means the slicer often decides whether your printer feels quick or frustrating long before the first layer goes down.
There is a fair counterargument here, and it’s worth taking seriously. Some printers really are slow compared to newer hardware, especially older bedslingers with limited acceleration, weaker cooling, or stock hotends that struggle to keep up. If a machine physically cannot melt filament fast enough or maintain quality at higher movement speeds, no slicer trick is going to transform it into a speed demon. There are real hardware ceilings, and pretending otherwise would be nonsense.
It’s also true that some users go too far in the other direction. They see speed Benchies, crank every velocity number upward, and end up with ringing, sloppy corners, bad overhangs, or under-extrusion. That kind of tuning can make prints finish sooner, but the result often looks worse or fails outright. In that case, the slicer profile is still the problem, just in a different costume.
Then there’s the fact that slicer settings interact in messy ways. A printer might handle fast infill but need slower outer walls for a clean finish. It might do great with thicker layers on one model and struggle on another with steep curves or fine text. So yes, there are good reasons some people keep their settings conservative, because the wrong shortcut can cost quality fast.
Even with those caveats, most people still leave a lot of time on the table by refusing to question their slicing profile. The answer usually is not to slam every speed setting to the maximum and hope for the best. It’s to make better decisions about what the model actually needs. A practical print does not need luxury settings just because the slicer makes them available.

That mindset shift matters more than people expect. Instead of asking, “How fast can this printer move?” the better question is, “What can I stop asking it to do?” Fewer unnecessary walls, saner infill, more reasonable layer heights, and less obsessive surface tuning can turn a sluggish workflow into a much more efficient one. You’re not cheating the print when you do that. You’re matching the settings to the job.
That’s why I think the slicer deserves most of the blame in these situations. It sits between the model and the machine, translating your choices into reality. If those choices are bad, even a very capable printer can feel slow and disappointing. Fix the profile first, and you might discover your “slow” printer was never the bottleneck in the first place.
A better slicer profile isn’t about blindly chasing speed. It’s about cutting waste, knowing when detail matters, and resisting the urge to overbuild every object that lands on the plate. Once you start thinking that way, the printer stops feeling like the problem and starts feeling a lot more competent. In many cases, that’s because it was competent all along.
Plenty of users are one profile away from a very different opinion about their machine. Before shopping for upgrades or convincing yourself that your printer has fallen behind, it’s worth taking a hard look at the settings you keep reusing out of habit. Some of the biggest gains in 3D printing don’t come from new hardware at all. They come from finally admitting that the slicer has been making bad decisions on your behalf.
Before you assume your 3D printer is just hopelessly slow, check your slicer profile settings…all of them.
Why it matters
News like this often changes audience expectations and competitors’ plans.
When one player makes a move, others usually react — it is worth reading the event in context.
What to look out for next
The full picture will become clear in time, but the headline already shows the dynamics of the industry.
Further statements and user reactions will add to the story.